Intro to SwiftUI: Digital Clock


Khalea B. / October 23, 2019
13 min read

With the release of macOS Catalina on October 7th, Apple’s brought a slew of changes and updates out of beta and into the mainstream. This includes the introduction of Xcode Previews with SwiftUI. Basically, SwiftUI is a new framework for building user interfaces for Apple devices.
Objective
We’re going to build a digital clock that displays a message based on time of day. While it is an incredibly simple project, it serves as a great introduction to how things work in SwiftUI.
Requirements
- A MacOS device running Catalina
- Xcode 11+
Step 1: Initial Setup

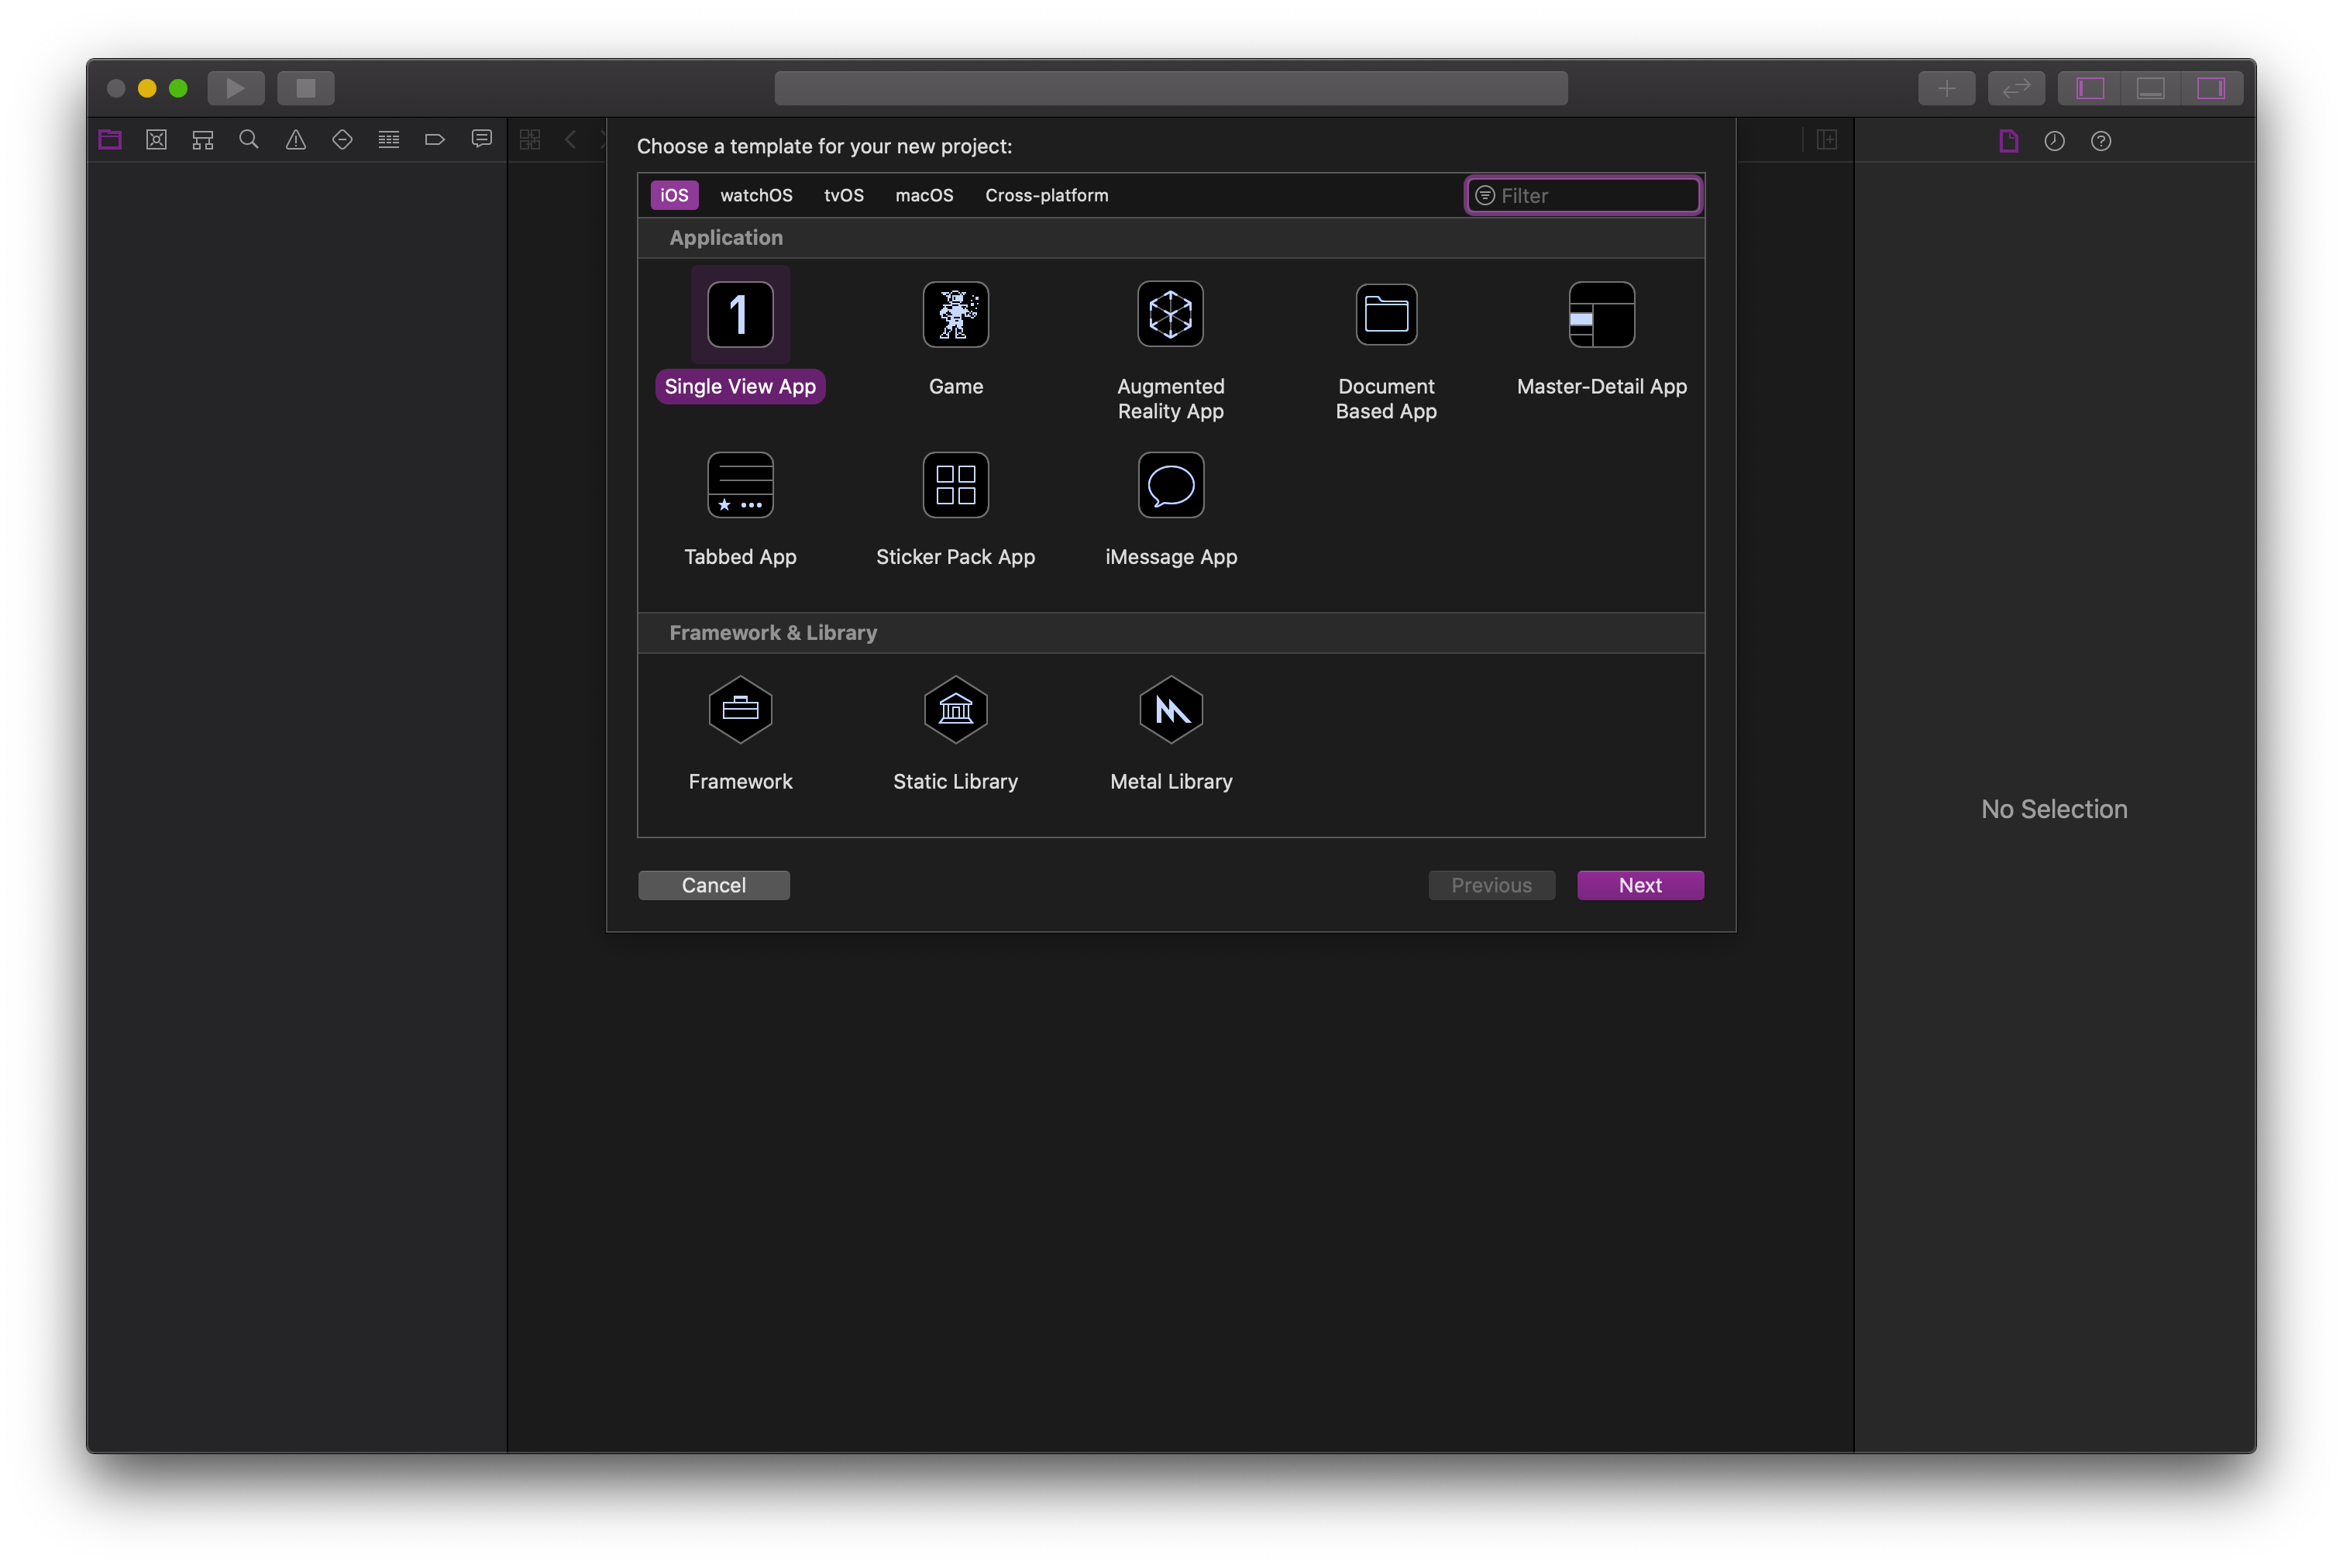
Upon opening Xcode, select “Create a New Xcode Project”
- Choose iOS > Single View App
- As for the project options window:
- Product Name: “SwiftUIClock”, or whatever you’d like
- Organization Name & Identifier: Your name, nickname, etc. No spaces.
- Language: Swift
- User Interface: SwiftUI
- Do not check any of the boxes.
- Save the project wherever you’d like.
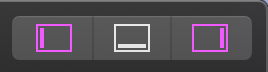
So, once you initialize your project, you should see 4 columns. From left to right, these are: the Navigator, the Editor, the (Live Preview) Canvas, and the Utility area. You can hide the Navigator and Utility area by clicking the icons in the top right corner of the window. If you need, you can learn more about the Xcode interface here.

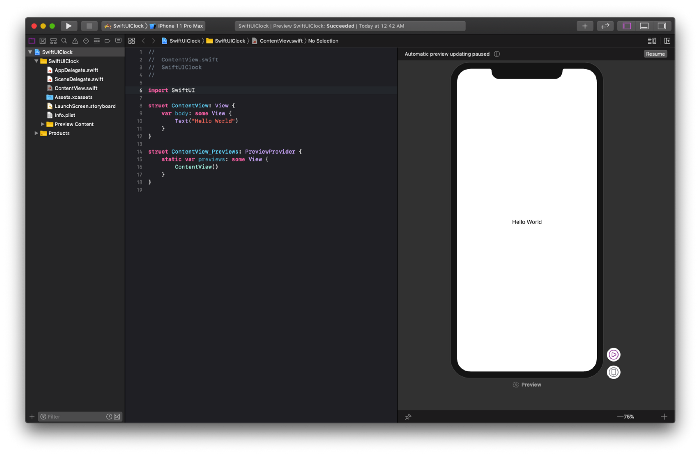
The Live Preview Canvas initially shows up blank, so press “Resume” to render the boilerplate code. After everything compiles, you should see something like this:

Great! Now that everything’s up and running, let’s modify the UI.
Step 2: Adding UI Elements
There are 2 ways to add elements to your app in SwiftUI projects: programmatically and via the Canvas.
Programmatic UI
In the editor, we see our boilerplate code: a struct containing a View called ContentView, and a PreviewProvider called ContentView_Previews.
Views are just “containers” for content that are rendered onto the screen.
A view may have subviews or parent views, and they include anything like text, buttons, stacks, and lists.
Within ContentView we have the body variable, which is where we configure the content of our view.
It has the some keyword (for opaque types) in front of it, which just indicates that it’ll return any View regardless of its specific contents.
A more detailed explanation can be found here.
In the body you’ll find a Text view has been declared:
Text("Hello World")
Change this text to display whatever you’d like, and you’ll find that the Canvas will update immediately, if you’ve enabled automatic preview updates.
To take it a step further, let’s add some style to it programmatically.
We add styles or behaviors to views in SwiftUI using functions called modifiers.
They follow the view declaration and take the form .modifier(parameter).
Let’s change the text color, for instance:
Text("I am the danger... I am the one who knocks.")
     .foregroundColor(Color.blue)
You can chain modifiers to add multiple stylistic or behavioral options to your view:
Text("We live in a society")
     .foregroundColor(Color.blue)
     .font(.system(size: 32.0))
The above is equivalent to the single line:
    Text("We live in a society")
      .foregroundColor(Color.blue).font(.system(size: 32.0))
However, it’s common practice to nest the modifiers beneath views, for clarity.
Canvas Drag & Drop Editor
In the top-right corner of Xcode, you’ll see a little plus-sign icon. That gives you access to the Xcode Library, which contains a ton of UI elements/views, modifiers, and other things.

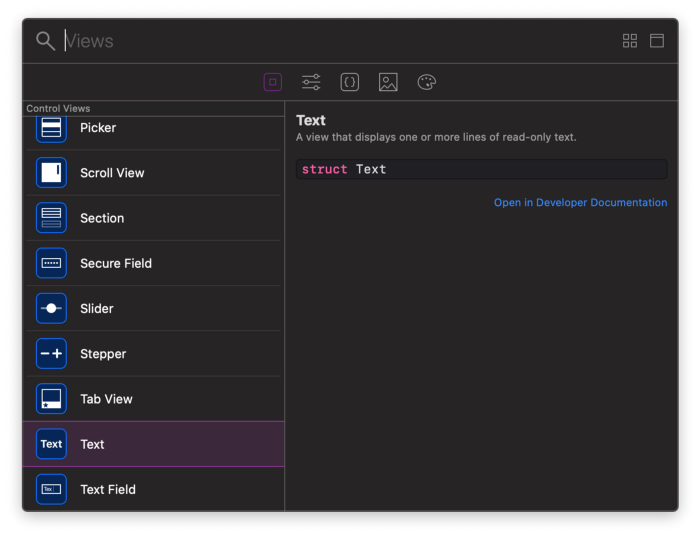
From here, we can drag and drop different elements onto the Canvas, and amazingly, our code will update automatically! In fact, all changes made in the Canvas will be reflected in the Editor. Let’s drop another Text label into our canvas:


And now you’ll see a new Text label with a placeholder message. In the Editor, you’ll notice that this change is reflected.
You’ll also notice that both text labels are now nested within a view called VStack. A Vstack is a layout that arranges child views (in this case, our text labels) vertically.
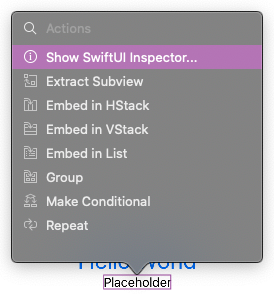
If you Command-Click on an element in the Canvas, a pop-up with a list of actions will be displayed. From here, you can modify views, embed views in vertical and/or horizontal stacks, and some other stuff. We’re going to click the first option, “Show SwiftUI Inspector”:

From there, we can modify what text is displayed, the font’s properties, add padding to the view, amongst other things.
Let’s change the placeholder text to a time of day greeting, and change its font property to subheadline.
Then change the larger text label to have the font weight bold.


Sweet! Now that we’re familiar with ways of modifying the UI, we can move on to building the clock.
Step 3: Get with the Times
Alright, now we’re going to set the value of the top text label equal to the current time.
First we want to declare a State instance variable called date at the top of our ContentView, just after the struct declaration.
struct ContentView: View {
    @State var date = Date()
    ...
}
The
@Statekeyword essentially means that the following variable value is monitored. If its value changes, then the View will update to reflect it.Date()is the initializer for Date objects, which retrieve date & time information based on the user’s region.
A bit further down in our code, we can edit the top text label to be equivalent to our date variable.
In Swift, we add code within strings with the help of the escape character \.
VStack {
     Text("\(date)")
       ...
}
Check your Canvas, and you should see something like “Saturday, October 12th, 2019 at 4:10:44 PM Eastern Daylight Time”.
We’re off to a good start! However, there are two problems. We only want to display the time, and the time does not update dynamically. We’ll get to the latter part in a bit, but first, let’s do some formatting magic.
We can do this with the help of a DateFormatter object.
A DateFormatter will allow us to modify the output we receive from Date objects.
So let’s create one at the bottom of the ContentView struct, just under the close of the body variable:
var body: some View {...}
var timeFormat: DateFormatter {
    let formatter = DateFormatter()
    formatter.dateFormat = "hh:mm:ss a"
    return formatter
}
Let’s break this snippet down:
timeFormatis aDateFormatterobject that can callDateFormattermethodsdateFormatis a property ofDateFormatterobjects that allows us to describe what we want returned from a given Date, and how- We chose “hh:mm:ss a”, where lowercase “hh” = 12-hour style (vs capital HH 24-hour), “mm” are minutes, “ss” are seconds, and “a” is the am/pm indicator. More formatting options (like months or weekdays) can be found here
Next, we should build a string that contains the time. We’ll do this by creating a function, timeString:
var timeFormat: DateFormatter {...}
func timeString(date: Date) -> String {
     let time = timeFormat.string(from: date)
     return time
}
Let’s review that function:
- It takes in a
Datevariable and outputs a String - We pass that date to our
timeFormatfunction and save the result as a string - Then we return the string
Now, let’s update the displayed time to our desired format:
...
VStack {
     Text("\(timeString(date: date))")
     ...
}
Nice! Now our Canvas shows the time in the proper format, and we’re ready to implement persistent time updates.
Step 4: Live Times
Remember when we talked about State earlier? We have our date variable, which is a State instance. Recall:
The ‘@State’ keyword essentially means that the following variable value is monitored. If its value changes, then the View will update to reflect it.
SwiftUI will monitor a State variable for changes, however it does not initiate the changes itself.
The Date() initializer retrieves one specific point in time, which is why our clock doesn’t update automatically.
In order for this to happen, we have to refresh the date variable every second.
The mechanism by which we will do this is using a Timer object. Here’s Apple’s explanation of the Timer class:
“A timer that fires after a certain time interval has elapsed, sending a specified message to a target object.”
Once we set up our timer, SwiftUI will recognize the State changes and update the clock accordingly.
At the bottom of the ContentView struct, lets add a new timer called updateTimer:
func timeString {...}
var updateTimer: Timer {
     Timer.scheduledTimer(withTimeInterval: 1, repeats: true,
                           block: {
                             self.date = Date()
                           })
}
Timer.scheduledTimer(…)is the method that creates the timerwithTimeIntervalis the frequency at which the block is executedrepeatsindicates that you want the block to execute continuously, with respect to the given time intervalblockis the operation that you want to execute
Now, if you check out the Canvas, you’ll see that the clock still doesn’t update. That’s because, while we’ve created a Timer object, we haven’t actually implemented it.
Once the ContentView (or the Text view) is initially created, we want the Timer to start. We can use an .onAppear` modifier under our Text view to ensure that this happens:
...
Text("\(timeString(date: date))")
     .onAppear(perform: {let _ = self.updateTimer})
     ...
.onAppear(perform: action)is a function modifier which does something once the View appears- We declare our action with
let _becauseself.updateTimeris a function that doesn’t return a value that we need to save. The underscore indicates that you don’t actually want to assign anything.
And with that, we now have an accurate clock!
Step 5: Time of Day Greeting
Next, we’re going to update the second text label based on the time of day. We’ll define the time period as follows:
-Morning: 4:00:00am to 11:59:59am -Afternoon: 12:00:00pm to 4:59:59pm -Evening: 5:00:00pm to 8:59:59pm -Night: 8:00:00pm to 3:59:59am
We’ll create a function, greeting, which returns a String containing the time of day greeting:
...
var updateTimer: Timer {...}
func greeting() -> String {
     var greet = ""
     return greet
}
Now we have the basic skeleton for the function. Our next step is to create a block that compares the current time to a range of times, and defines the greeting based on that. For this, we’ll first define the time ranges (from 00:00:00 to 23:59:59) and then make the comparisons:
func greeting() -> String {
     ...

     let midNight0 = Calendar.current.date(bySettingHour: 0, minute: 00, second: 00, of: date)!
     let nightEnd = Calendar.current.date(bySettingHour: 3, minute: 59, second: 59, of: date)!
     let morningStart = Calendar.current.date(bySettingHour: 4, minute: 00, second: 0, of: date)!
     let morningEnd = Calendar.current.date(bySettingHour: 11, minute: 59, second: 59, of: date)!
     let noonStart = Calendar.current.date(bySettingHour: 12, minute: 00, second: 00, of: date)!
     let noonEnd = Calendar.current.date(bySettingHour: 16, minute: 59, second: 59, of: date)!
     let eveStart = Calendar.current.date(bySettingHour: 17, minute: 00, second: 00, of: date)!
     let eveEnd = Calendar.current.date(bySettingHour: 20, minute: 59, second: 59, of: date)!
     let nightStart = Calendar.current.date(bySettingHour: 21, minute: 00, second: 00, of: date)!
     let midNight24 = Calendar.current.date(bySettingHour: 23, minute: 59, second: 59, of: date)!
     return ...
}
This Calendar.current.date(bySettingHour: …) method lets us create a variable specifying a particular time during a given date.
In this case, the date is our State instance variable, date.
Now let’s add the comparisons to this function:
func greeting() -> String {
     ...
     if ((date >= midNight0) && (nightEnd >= date)) {
          greet = "Good Night."
     } else if ((date >= morningStart) && (morningEnd >= date)) {
          greet = "Good Morning."
     } else if ((date >= noonStart) && (noonEnd >= date)) {
          greet = "Good Afternoon."
     } else if ((date >= eveStart) && (eveEnd >= date)) {
          greet = "Good Evening."
     } else if ((date >= nightStart) && (midNight24 >= date)) {
          greet = "Good night."
     }
     return greet
} ...
And lastly, let’s set the second text label equal to the output of the greeting() function:
...
Text(time(date: date))
Text(greeting())
     ...
Now we should have a functioning clock with a time of day message!


Bonus: Chane Background Color
Just for funsies, let’s change the background color for the entirety of the ContentView.
We’ll do that first by embedding our View’s content in a ZStack (or Depth Stack), which is a View that lays out its children in a “stack” overlay.
In this case, the VStack will be laid out atop the ZStack layer.
So wrap the VStack like so:
var body: some View {
     ZStack {
          VStack {
              ...
          }
     }
     ...
 }
From here, we can add our Color modifier:
ZStack {
     Color.red
           .edgesIgnoringSafeArea(.all)
     VStack {
              ...
          }
}
There are only a few of colors that we can set using Color.colorName, but we can add custom colors to our Xcode Library and use them instead.
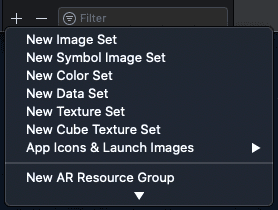
In the Navigator, click on the Assets.xcassets > click on the plus symbol in the bottom left > and click on ‘New Color Set’.

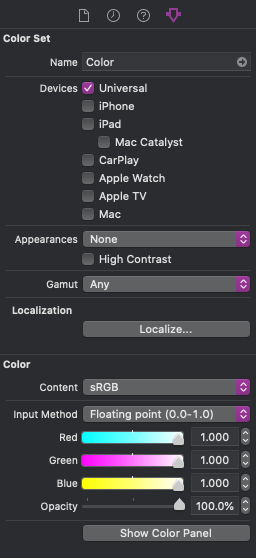
Make sure you have the right Utility/Inspector pane open, and double-click on the color named “Universal”.

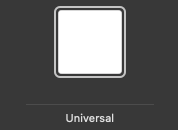
In the last tab of the Inspector, you can edit this color now. You can rename it and change its RGB values.

Once you’ve created your color, reopen the ContentView file in the code Editor.
Now we can add our custom color to the ZStack:
ZStack {
     Color("yourColorName")
     .edgesIgnoringSafeArea(.all)
     VStack {
              ...
            }
}
And voilá! You’re all done. 🙌🏽
Extra Resources
If you want to play around with SwiftUI some more, I have a few recommendations!